Overview
Application Load Balancer (ALB) is a network service that distributes incoming public web traffic between virtual servers to provide fault tolerance for websites and applications.
How it works:
The Load Balancer (ALB) allows to easily configure web or TLS traffic to virtual machines, belonging to the same Compute service based on a domain name in the HTTP protocol or the Server Name Indication (SNI) extension of TLS.
When the volume of incoming traffic changes dramatically, the balancer evenly distributes the entire volume of requests between resources according to the Round-robin algorithm.
ALB provides automatic renewal of LetsEncrypt certificates and the ability to upload your own certificates. Forwarding through ALB does not require opening virtual machine destination ports in the Network Security Group in the Firewall tab. ALB provides access on the main public address of the account only on ports 80 and 443. These ports can be reassigned in the Port-Forwarding application.
The Health Check feature allows to exclude unhealthy servers from the load balancing rotation. ALB monitors the status of the virtual machines responsible for handling the web traffic route, and will consider VMs healthy as long as they return status codes between 2XX and 3XX to the health check requests (carried out every interval). If a VM is found to be unavailable (powered off or broken), the HealthCheck ensures that web traffic is not directed to that particular VM.
Note
ALB management is only available to users with the Account Admin role.
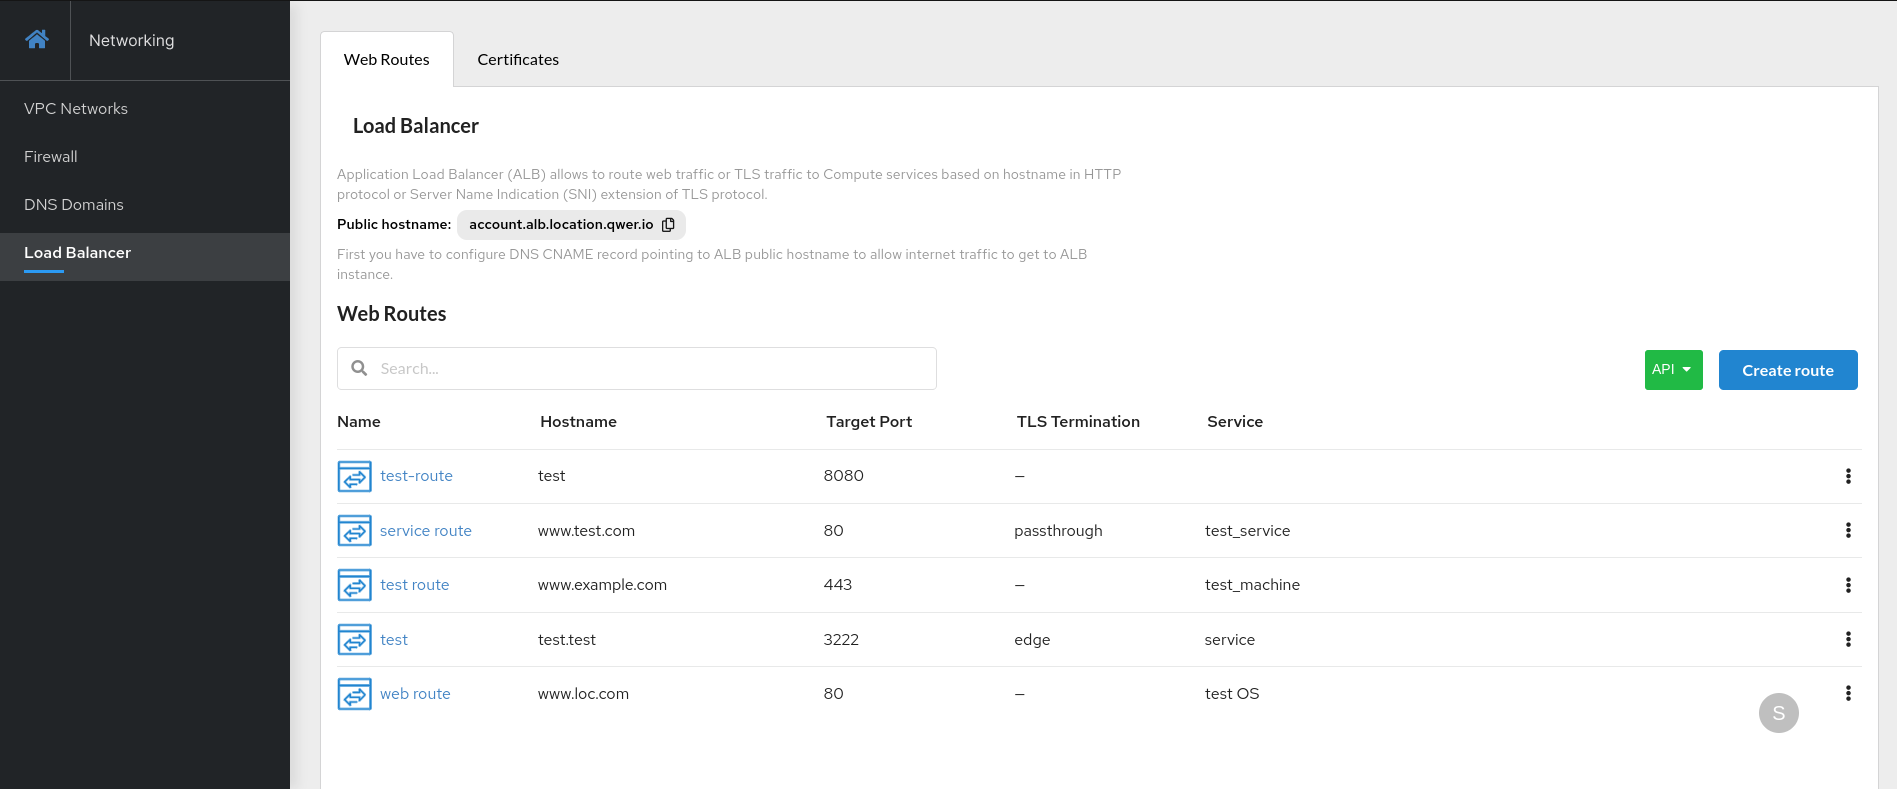
The Web Routes tab contains a list of ALB web traffic routes. The user can create, edit, view and delete routes.
Creating and Configuring a Route
Preparation
Before creating a new route, the user has to configure a DNS CNAME record pointing to the ALB's public host name to allow Internet traffic to access the ALB instance, and then prepare the virtual machine.
Note
By default we mean a prepared virtual machine with a web server on port 80.
Route creation
- On the
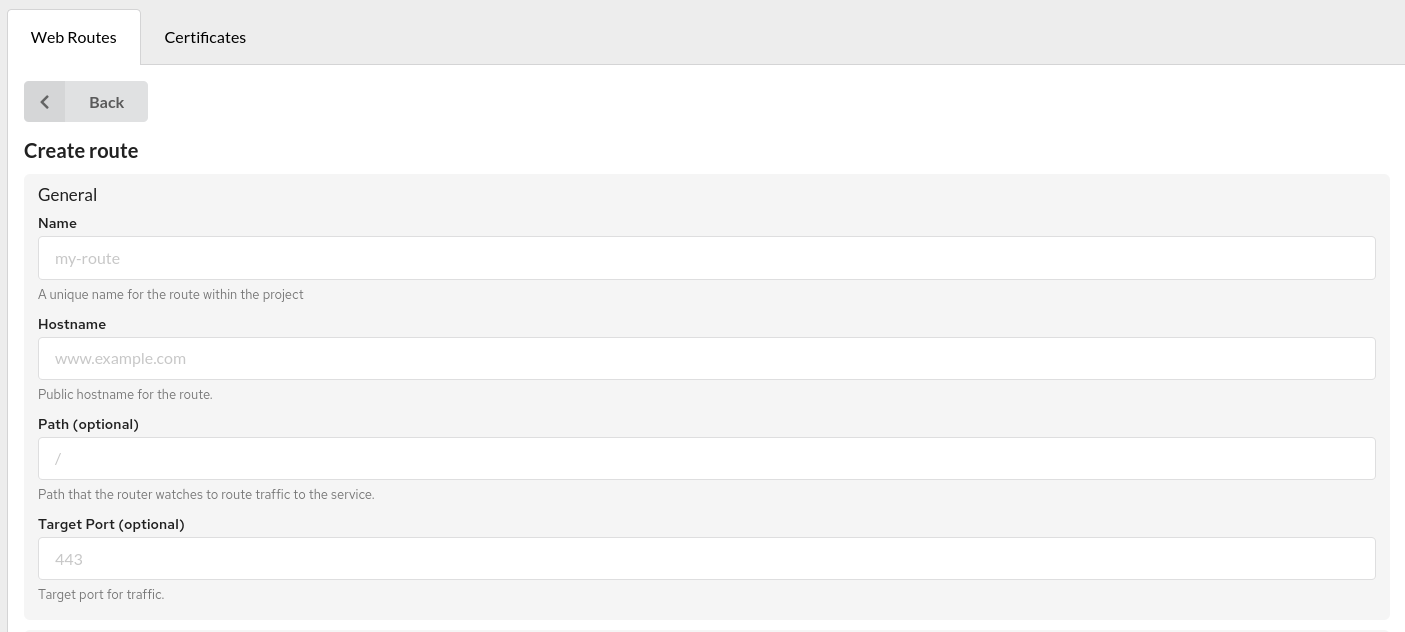
Web Routestab, clickCreate Route. -
In the popped-up modal window, enter:
Name- the name for the route within the project;Hostname- public host name for the route;- The
Paththat the router watches to route traffic to the service (optional); Target portfor traffic (optional).
-
In the
Target Services, select theService(s)for load balancing (each service has a weight that determines the amount of traffic received). - Select
IP interface type: IPv4/IPv6. -
Select
Securitysettings for the routes by enabling theSecure Routecheckbox, or you can leave it disabled.
IfSecure Routeis enabled, specify theTLS termination type:- edge
With edge termination, the encryptedTLS trafficis terminated on the ALB, then the already decrypted traffic is proxied to the internal IP addresses of the virtual machines on theHTTP port (80/TCP). To terminate TLS traffic, the downloaded certificate is used if it matches the Hostname field of the Web route, otherwise, an attempt is made to issue a LetsEncrypt certificate. If the issue of the LetsEncrypt certificate fails for any reason (for example, the DNS record is not set to the ALB public hostname, the request limit has expired), then the default self-signed certificate will be used. - passthrough
With passthrough termination, encrypted traffic is sent directly to the destination without decrypting the traffic. In this case, the balancer only allocates traffic between services according to weights. This is currently the only method that supports client certificate authentication (also known as two-way authentication). - re-encrypt
This is a case of edge termination where the TLS protocol is terminated at the ALB with a certificate and then re-encrypts its connection to an endpoint on theHTTPS port (443/TCP), which may have a different certificate. Therefore, the full connection path is encrypted even on the internal network. ALB uses performance checks to determine host availability.
Note
Re-encrypt ALB does not currently validate the destination host certificate, so self-signed certificates can be used.
- edge
-
Select a policy for traffic on insecure schemes:
- allow - allows HTTP traffic to pass through;
- redirect - automatically redirects the client from HTTP to HTTPS (using HTTP code 301).
-
Select one of the
TLS Certificatesassociated with this route. - Click
Create.
The new route will appear in the general list, where you can edit its settings or delete it using the side menu or by clicking the corresponding buttons in the Details.
To view the details of the created route, simply click on it.
Certificates
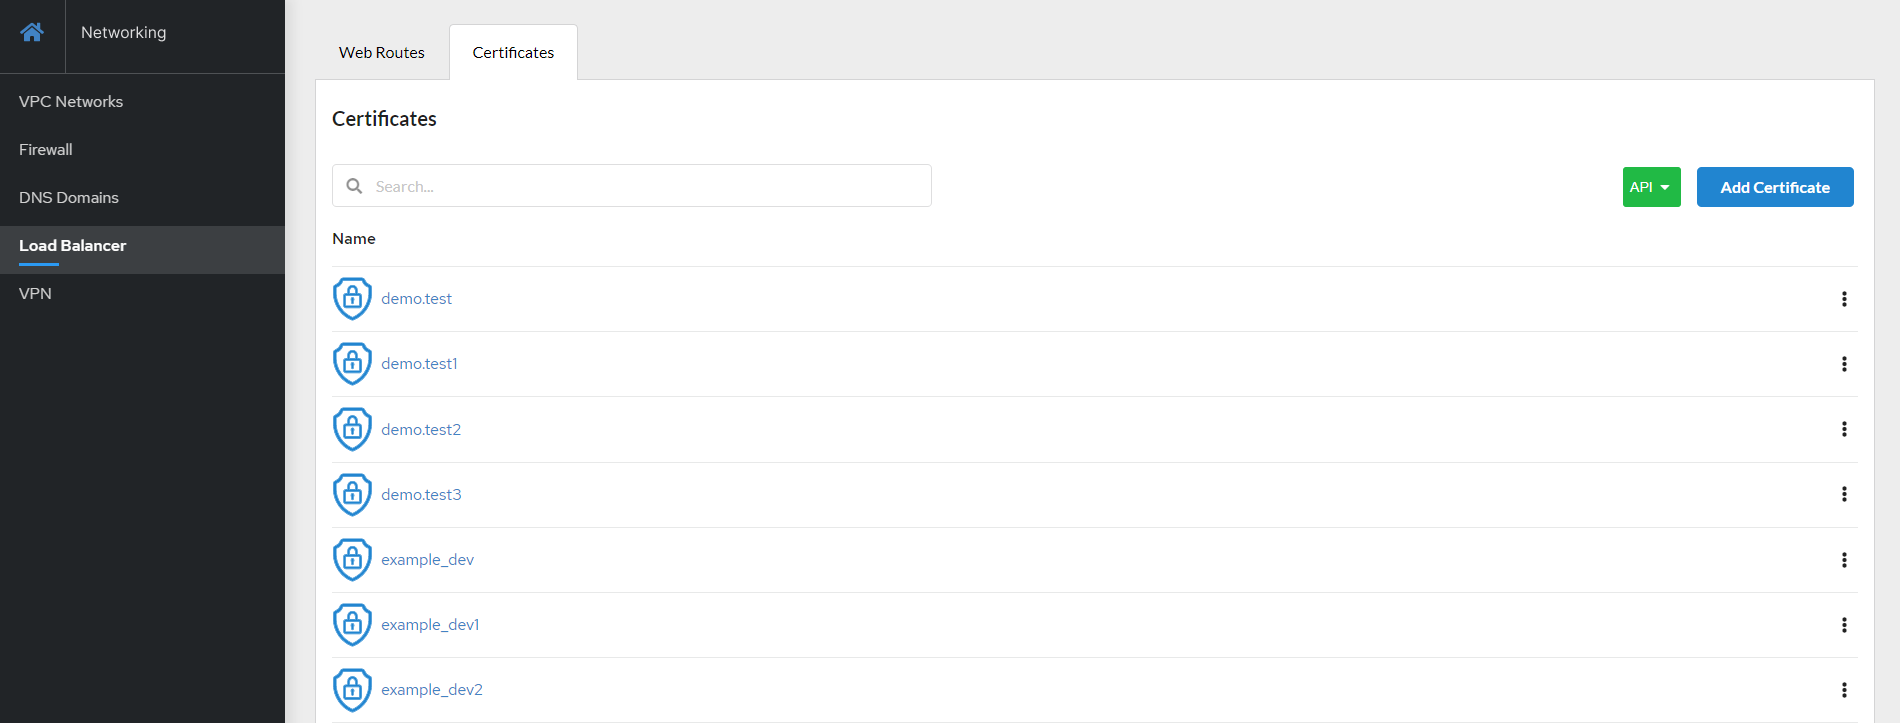
Users can add TLS certificates for edge and re-encrypted termination on the Certificates tab. Certificates must be in PEM format. Users can add, edit, view, and delete certificates.
Adding Certificates
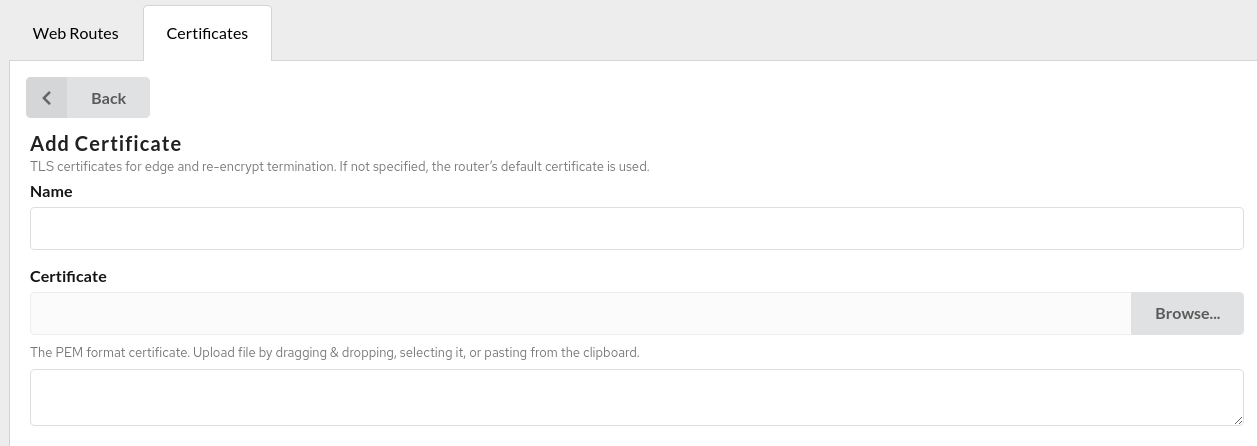
Users can upload certificates by dragging, selecting, or pasting them from the clipboard.
- Click
Addcertificate on theCertificatestab; - Enter a
Namefor the certificates; - Click
Browseand add the needed certificates (or drag and drop, paste from clipboard); - Click
Addto complete.
The certificate will appear on the list. Click its name to view the details.
There are two ways to edit and delete certificates. Users can do this by using the side menu (icon with three dots) or by pressing the corresponding button in the Details.
Note
When using your own certificates, only one certificate related to the domain name must be loaded into the system for correct operation. For example, if the downloaded certificate has expired, you need to delete it and download the current one.


